The secret of how to seal patio pavers looking their absolute best year after year lies in a simple yet powerful solution: sealing.
Transform an ordinary outdoor space into an inviting haven with the timeless elegance of patio pavers. These versatile stones come in vast styles, colors, and textures, allowing you to create a personalized haven for entertaining, relaxation, or simply enjoying the outdoors.
This comprehensive guide will equip you with everything you need to know about how to seal patio pavers, transforming them from a potentially neglected space into a source of pride and enjoyment for years to come.
Preparation of How to Seal Patio Pavers
Before plunging into the world of sealers and transforming your patio, a crucial first step awaits, preparation. Proper preparation ensures a smooth application, optimal results, and long-lasting protection for your pavers.
Here’s what you’ll need to get started with to know how to seal patio pavers
Gathering Materials and Tools
To get started, gather the following materials and tools:
Materials
- Sealer
- Cleaner
- Joint sand
- Water
Tools
- Broom
- Pressure washer
- Garden hose
- Sprayer or roller
- Stiff brush
- Safety gear
Cleaning the Pavers
Cleaning your patio pavers is essential to remove dirt, debris, stains, and any previous sealer residues. A clean surface allows the new sealer to adhere properly and ensures an even finish.
Methods for Cleaning
- Sweeping: Sweep the patio with a stiff broom to remove loose dirt and debris.
- Pressure Washing: Use a pressure washer to clean deep-seated dirt and grime, being careful not to disturb the joint sand.
- Spot Cleaning: For tough stains and efflorescence, apply a specialized paver cleaner, scrub with a stiff brush, and rinse thoroughly.
Drying the Pavers
Drying the pavers completely is critical before applying the sealer. Any moisture left in the pavers can prevent the sealer from adhering correctly and may cause a cloudy or uneven finish.
Recommended Drying Time
Allow pavers to dry completely after cleaning. Typically, 24-48 hours on a warm, sunny day is sufficient. Ensure no rain is forecast during drying and sealing.
Proper preparation, including gathering materials, cleaning thoroughly, and ensuring complete dryness, sets the foundation for a successful sealing project. You’ll then be ready to seal your patio pavers with confidence.
How to Choose the Right Sealer
Selecting the appropriate sealer for your patio pavers is crucial for achieving the desired look and ensuring long-lasting protection. Here’s a guide to help you choose the right sealer.
Types of Sealers
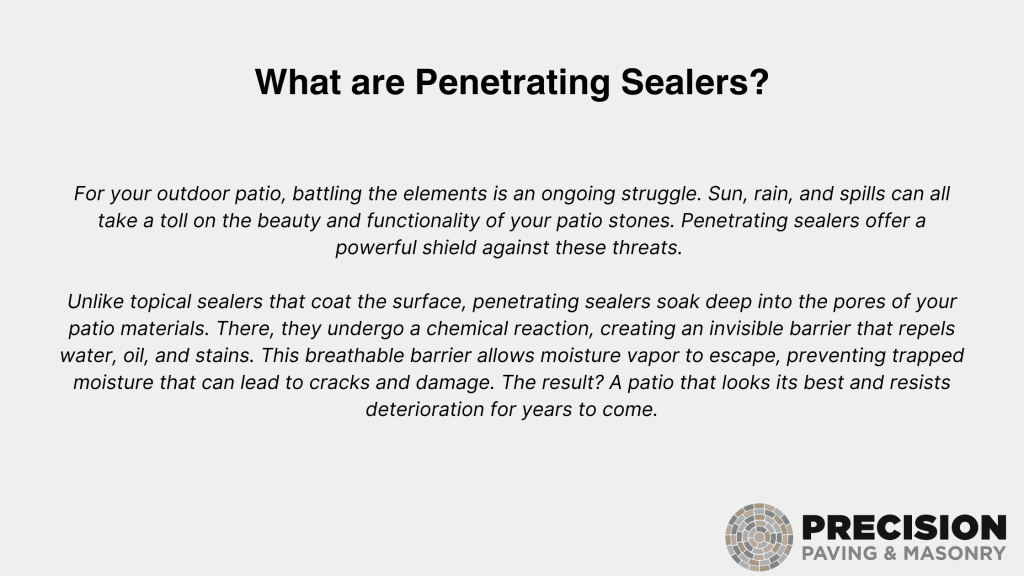
Penetrating Sealers

- These sealers absorb into the paver material, protecting within.
- Ideal for maintaining the natural look of the pavers.
- Effective at repelling water and resisting stains without altering the paver’s appearance.
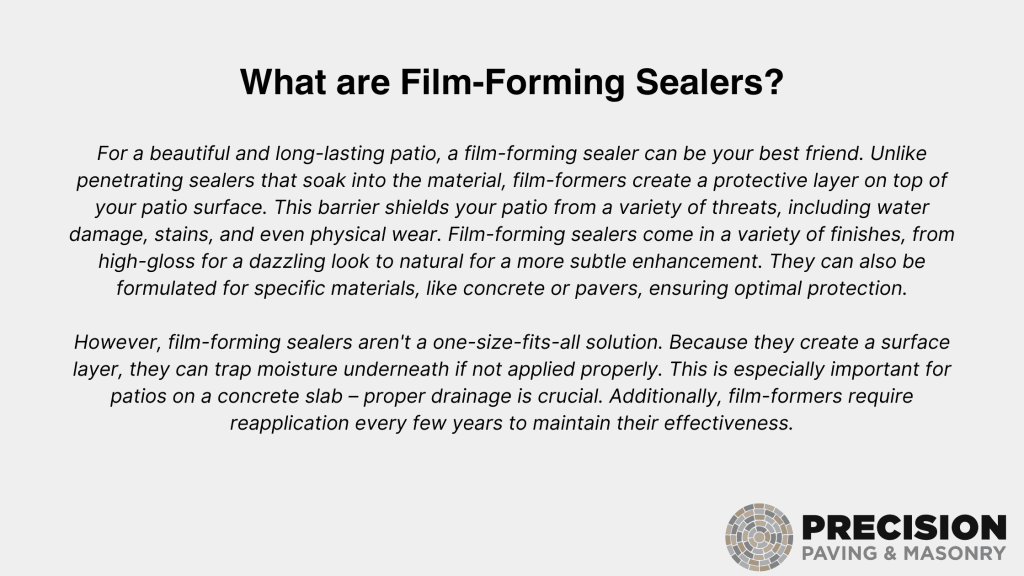
Film-Forming Sealers

- Create a protective layer on the surface of the pavers.
- Available in gloss and matte finishes.
- Gloss finishes add a shiny, wet look, while matte finishes offer a subtle, non-reflective appearance.
- Enhance the color and texture of the pavers while providing strong protection against stains and weathering.
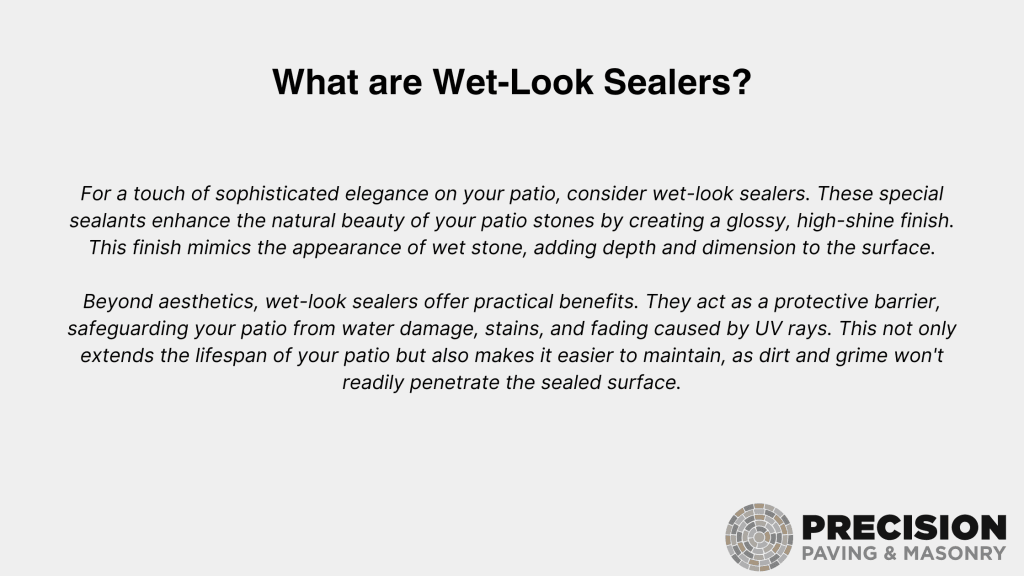
Wet-Look Sealers

- Provide a high-gloss finish that gives pavers a wet appearance.
- Intensify the color and add a dramatic effect to the pavers.
- Offer excellent protection against UV rays, water, and stains.
Applying the Sealer
Proper application of the sealer is essential to protect your patio pavers and enhance their appearance. Follow these steps to ensure a successful sealing process.
Preparation for Sealing
1. Checking the Weather Forecast
- Ensure you have a window of dry, warm weather for at least 24-48 hours.
- Avoid sealing if rain is expected during the drying period.
2. Testing a Small Area
- Before applying the sealer to the entire patio, test it on a small, inconspicuous area.
- This helps you confirm the appearance and compatibility of the sealer with your pavers.
Sealing Process
1. Applying the First Coat
Start from one corner and work your way systematically to avoid stepping on wet sealer. Apply thin, even coats for the best results.
- Use a sprayer, roller, or brush to apply the sealer evenly across the pavers.
- Follow the manufacturer’s instructions for application methods and coverage rates.
- Work in small sections to ensure even coverage and avoid missing any spots.
2. Allowing Proper Drying Time Between Coats
- Let the first coat dry completely, typically for the time recommended by the manufacturer.
- Ensure the surface is no longer tacky before applying the second coat.
3. Applying the Second Coat if Necessary
- If a second coat is recommended, apply it using the same method as the first coat.
- Ensure even coverage and avoid over-application.
Common Mistakes to Avoid
1. Over-Application
- Applying too much sealer can cause a cloudy or uneven finish.
- Stick to the recommended amount to achieve the best results.
2. Sealing Wet or Damp Pavers
- Ensure pavers are completely dry before sealing.
- Moisture can prevent the sealer from adhering properly, leading to a poor finish.
3. Ignoring the Manufacturer’s Instructions
- Always follow the instructions provided by the sealer manufacturer.
- Each product may have specific requirements and recommendations for optimal results.
By carefully preparing and applying the sealer, you can protect your patio pavers and enhance their beauty, ensuring they remain in excellent condition for years to come.
Post-Sealing Care and Maintenance
Proper care and maintenance after sealing your patio pavers are essential to ensure the sealer’s effectiveness and longevity. Follow these guidelines to keep your pavers in top condition.
Initial Curing Period
1. Avoiding Heavy Traffic
- Keep foot traffic to a minimum for at least 24-48 hours after sealing.
- Avoid placing heavy objects on the pavers during this period to allow the sealer to cure properly.
2. Protecting from Rain and Moisture
- Ensure the sealed area remains dry and protected from rain and moisture for the initial curing period.
- Use tarps or covers if rain is expected, but allow for ventilation to prevent condensation.
Regular Maintenance
1. Cleaning Tips for Sealed Pavers
- Sweep the pavers regularly to remove dirt and debris.
- Use a mild detergent and water for routine cleaning. Avoid harsh chemicals that can damage the sealer.
- For tougher stains, use a paver-specific cleaner and a soft brush.
2. Reapplication Frequency
- The sealer’s lifespan varies based on the type used and environmental conditions. Typically, reapply every 2-3 years.
- Regularly inspect the pavers for signs of wear or sealer deterioration to determine if reapplication is necessary.
3. Handling Spills and Stains
- Clean up spills immediately to prevent staining.
- For oil or grease stains, use an appropriate cleaner and follow the manufacturer’s instructions.
Troubleshooting Issues
1. Addressing Cloudy or Milky Sealer
- Cloudiness often occurs if the sealer is applied to damp pavers or if moisture is trapped underneath.
- To fix, remove the cloudy sealer with a sealer remover and reapply, ensuring the pavers are completely dry.
2. Fixing Peeling or Flaking Sealer
- Peeling or flaking can result from over-application or improper preparation.
- Remove the affected sealer with a sealer stripper, clean the area thoroughly, and reapply a thin, even coat.
3. Dealing with Weeds and Moss Growth
- Regularly inspect and remove weeds or moss growing between the pavers.
- Apply a weed-preventative solution or use polymeric sand in the joints to inhibit growth.
By following these post-sealing care and maintenance tips, you can extend the life of your sealer, maintain the appearance of your patio pavers, and ensure long-lasting protection.
Conclusion
If you know how to seal patio pavers, sealing your patio pavers is crucial in maintaining their beauty and durability. By following the extensive guide outlined above, you can transform your patio into a stunning, long-lasting outdoor space that you can enjoy for years to come.
Proper preparation, choosing the right sealer, meticulous application, and ongoing maintenance are key to achieving the best results.
Investing time and effort into sealing your patio pavers not only enhances their appearance but also protects them from the elements and everyday wear and tear. Don’t wait until your pavers show signs of aging or damage. Take action now and give your patio the care it deserves.
Ready to seal your patio pavers and elevate your outdoor space?
Contact our team of experts today for personalized advice, top-quality sealing products, and professional sealing services. Let’s create the patio of your dreams together!
FAQs
1. Do patio pavers need to be sealed?
Absolutely. Paver sealant is a crucial maintenance tool for keeping patios, walkways, driveways, and pool decks as stunning as the day they were installed..
2. Is there a downside to sealing pavers?
One downside of sealing pavers is the need for ongoing maintenance. After sealing, you’ll need to consistently reapply the sealer, especially if you’ve opted for a thinner sealant prone to breaking down and forming a film over time.
3. Is it better to spray or roll paver sealer?
Opting for a sprayer or seeking professional assistance is a quicker and simpler method compared to rolling. This approach ensures an even application, avoiding the issue of excess product filling the gaps. Additionally, the sprayer effectively seals the sand in the joints without displacing it across the pavers.
4. Can you pressure wash patio pavers?
Utilizing a pressure washer to clean brick pavers is the fastest and most effective method available. Simply adjust the power washer to a medium-high setting and prioritize cleaning high-traffic areas initially, as they typically accumulate the most dirt.
